Wednesday, February 29, 2012

Product Swap: Josie Maran Pure Argan Oil

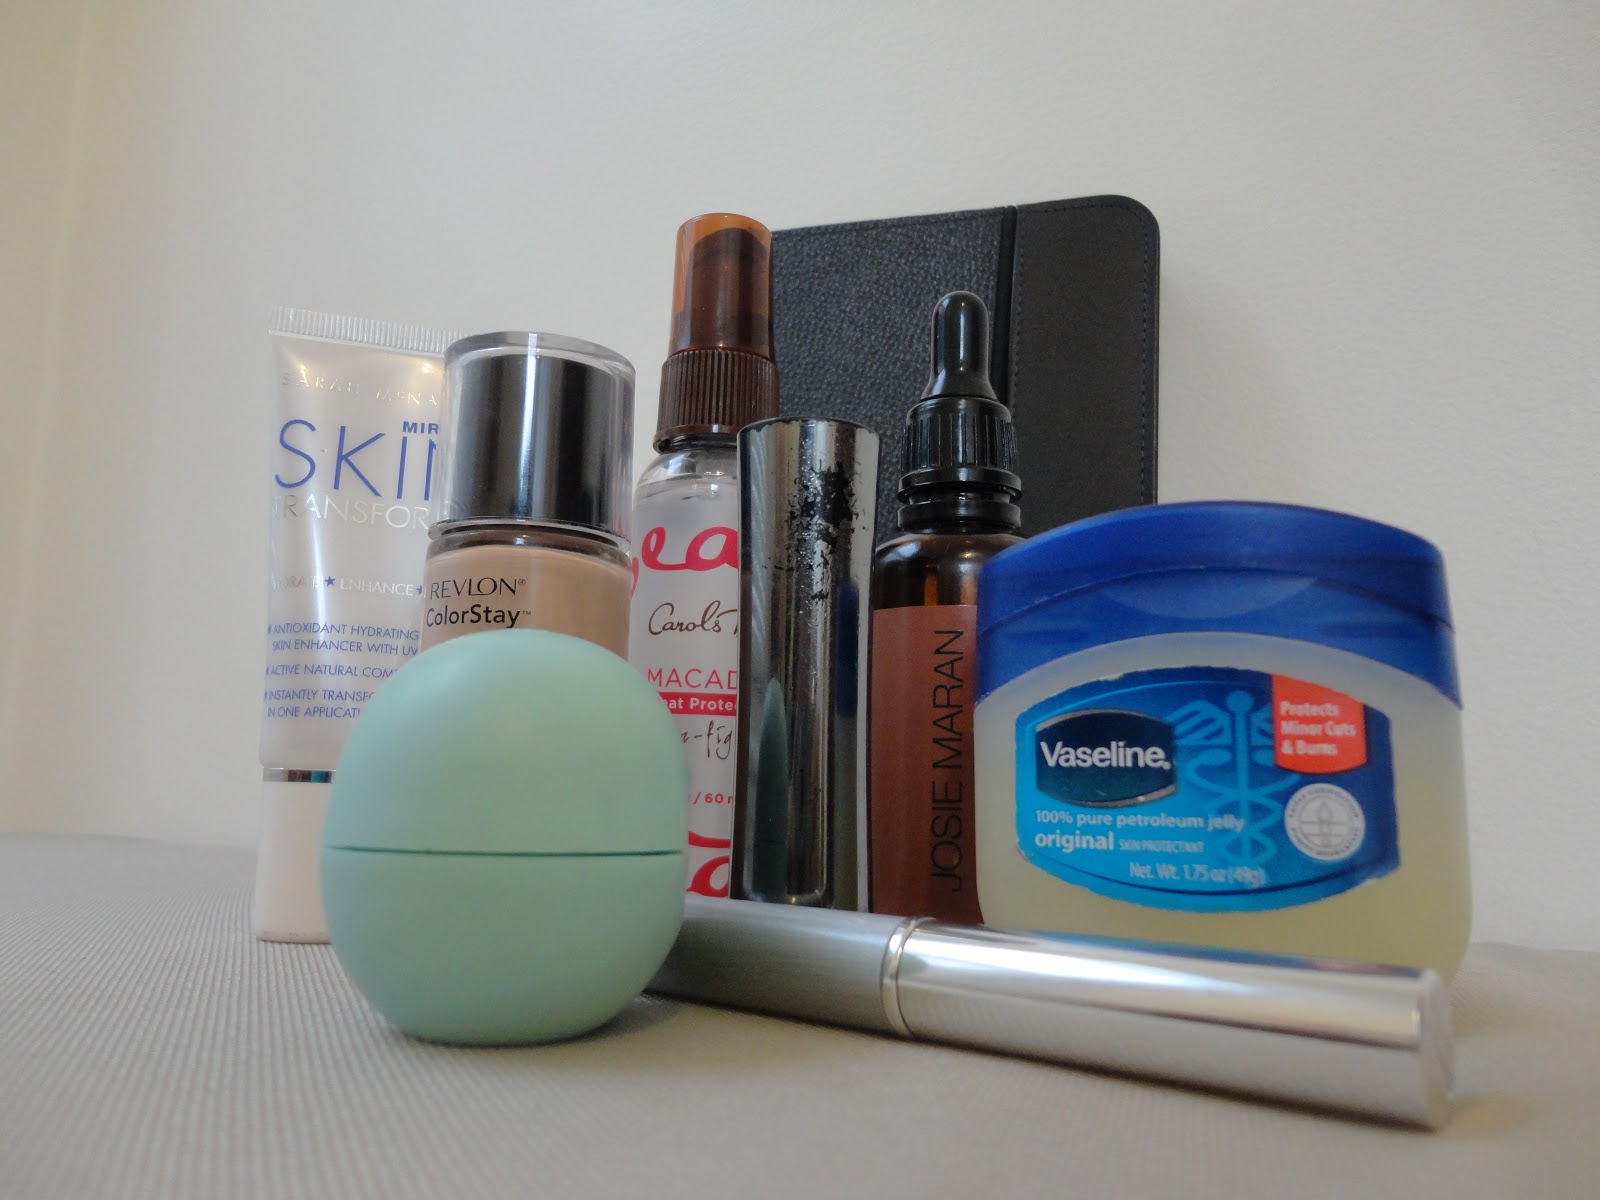
Time for another product swap! :)
For the past 14 days I stopped using my Cetaphil moisturizer and swapped in Josie Maran's 100% Pure Argan Oil.
This is the first time I've use any sort of oil type product as moisturizer. At first I couldn't keep myself from thinking that this product was just going to make my face a greasy mess, but after the first day all of my worries were gone! 
Overall, I really liked this product. The application was a little bit messy just because it's and eye dropper...sort of. I think it would be much easier if they had just put a pump on the bottle. But I guess that's just part of the 'experience'. 
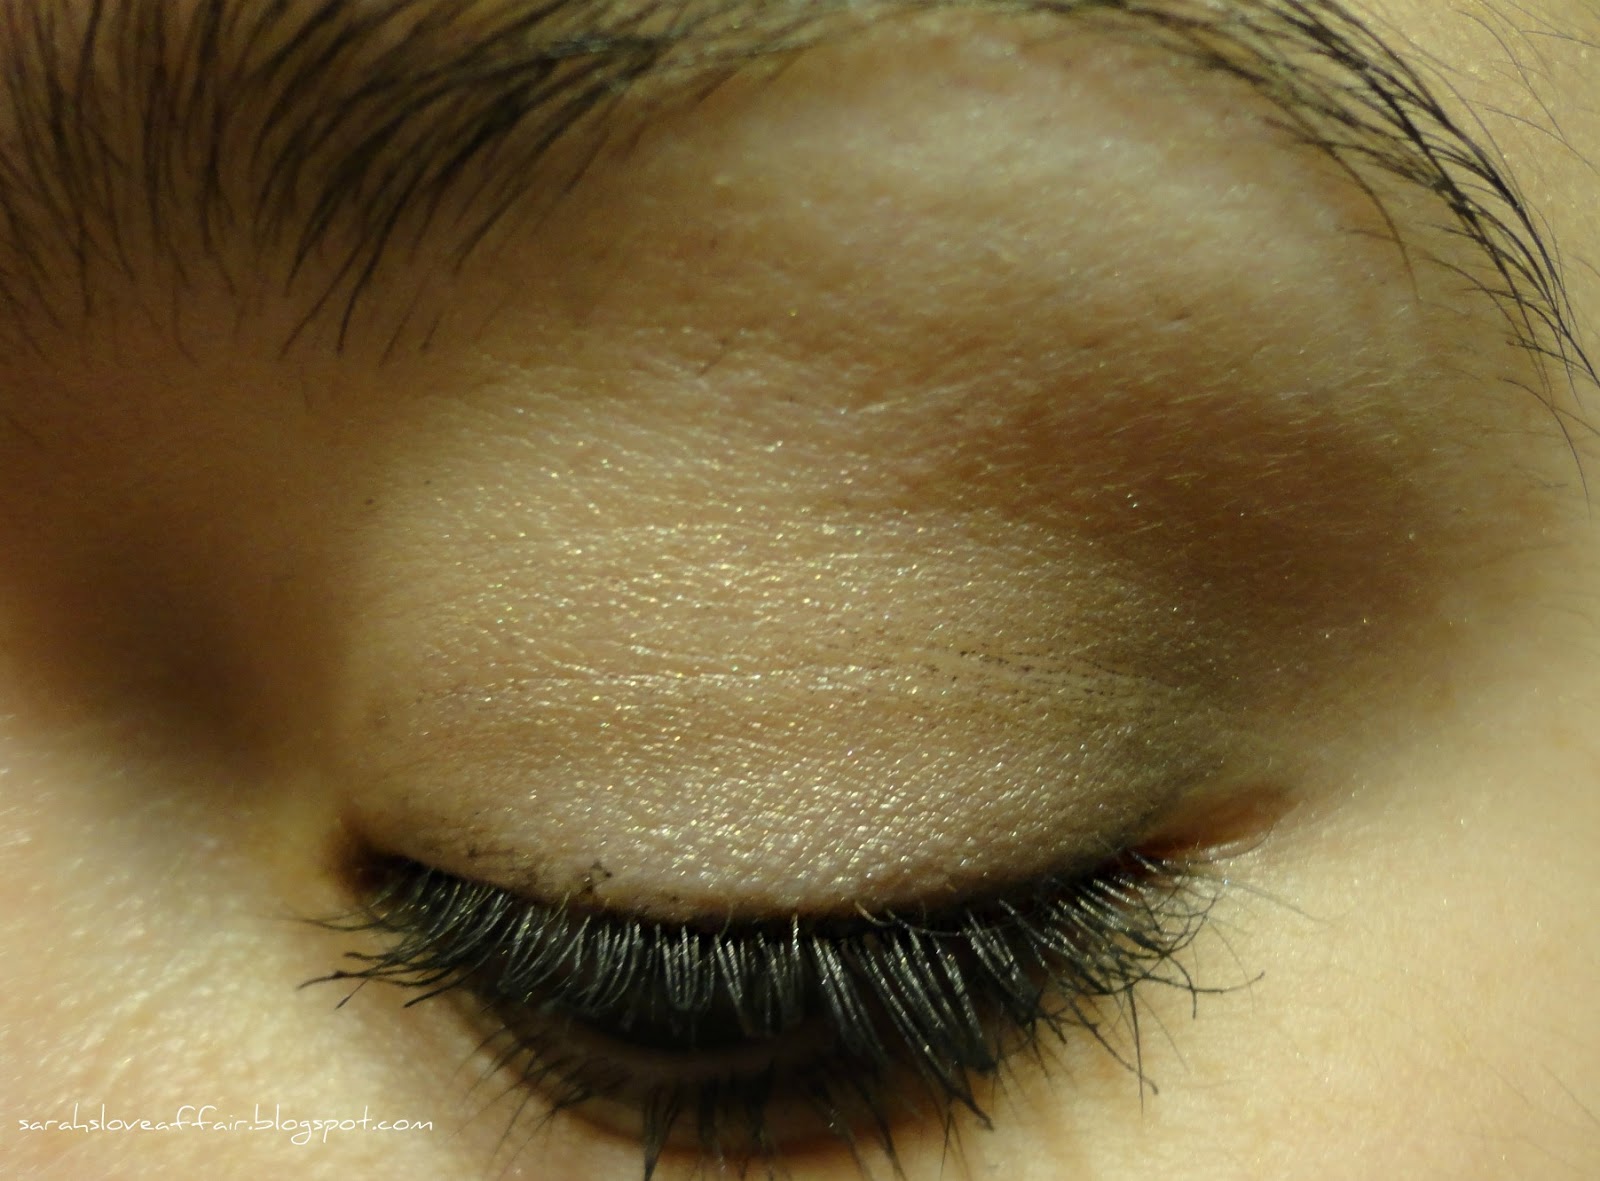
While using it I noticed that my skin did not feel dry or tight, and when I woke up in the morning my skin had a nice glow to it. However, probably 4 or 5 days ago I noticed a dry patch of skin on one of my temples, obviously this wasn't giving me quite enough hydration. 
What I did last night was I used my normal amount of Cetaphil but I mixed in probably 2 drops of the Argan Oil. Honestly, I don't know if this made any difference at all. My skin always looked glowy when I used the Cetaphil, so it was no surprise to me when the next morning I woke up to glow skin. 
I think I'm going to put this product on the shelf for now; my skin does tend to be dry and I am not ok with flakes or dry patches. I think I'll bring it back out in the warmer months. I have a feeling that since my skin won't need as heavy of a moisturizer that this will be perfect!
I will do a re-evaluation of this product in probably June.
If you are interested in purchasing this product go here.
I hope you enjoyed this product swap! Let me know if you have tried Argan Oil, and if you have, what's your favorite use for it?
Talk to you soon!
Disclaimer: I purchased this product myself.

February Favorites!

I still cannot believe that February is over... It literally flew by! I guess that always happens, don't you think?

EOS Smooth Sphere in Sweet Mint

Sephora's Lip Attitude Glamour in G18

Revlon ColorStay foundation in 110 Ivory

Carols Daughter Macadamia Oil Heat Protectant

Josie Maran's Pure Argan Oil

Vaseline

Sarah McNamara's Miracle Skin Transformer

Clinique's Almost Lipstick in Black Honey

Amazon Kindle Keyboard in Kindle Lighted Leather Cover (Black)
I hope you guys had a wonderful February! What were some of your favorites for this month?

Quote of the Day- Emily Bronte

"I've dreamt in my life dreams that have stayed with me ever after, and changed my ideas; they've gone through and through me, like wine through water, and altered the colour of my mind."
-Emily Bronte, (Cathrine Earnshaw - Wuthering Heights) 

Naked Week - Day 4

Hi everyone! :)
Today I have the look that I did for day 4 of naked week. I am loving this! It's super simple and I think it's gorgeous! Hope you enjoy it!


  1. Prime your lids with UDPP or your favorite colorless eye primer.
  2. Take Satin Sheets and apply it all over your lid.
  3. Place Like A Virgin in your crease.
  4. Use Lap Dance in your outer corner, and lightly place it in your crease.
  5. Put Stiletto in the outer 'v' of your eye.
  6. Highlight your brow bone using In The Buff.
  7. Smudge Bare Minerals Big & Bright Eyeliner in Stone into your upper lash line. (Your favorite grey/black eyeliner would work as well!
  8. Apply your favorite mascara, and your done! (I used Benefit's Bad Gal and Loreal's Voluminous.)
Another super quick look! I really liked it! As you may notice some of the colors look like they faded a little bit. That's because I did this look at probably 5:30 a.m. and wore it all day before photographing it. If you do decide to recreate this look, the shadows will look bolder when you first apply them.
I hope you enjoyed this look! :) Don't forget to check out the looks from day 1day 2 and day 3! To see pictures of the palette and all of its colors just go, here!
If you are interested in purchasing the palette that was used to create this look just go, here!
Thank you so much for reading. I'll talk to you soon! :)
Disclaimer- All products mentioned in this post were purchased by me.

Tuesday, February 28, 2012

Naked Week- Day 3!

Hello everyone! :)
Today I have the third look for the wonderful naked week! Today I recreated Too Faced's 'Classic' look! Let's start off with some pictures!


  1. Prime your lids with UDPP's primer potion or your favorite colorless primer.
  2. Take Birthday Suit and apply it from your brow bone to your lash line (Too Faced suggests only applying it from brow bone to crease, apparently I missed that memo!)
  3. Take Satin Sheets and apply it all over your lid.
  4. Use Unmentionables to line your upper lash line and if you so choose, your lower lash line as well.
  5. Finally, take your favorite mascara and apply it until your lashes are just perfect! I used Benefit's Bad Gal and Loreal's Voluminous in Carbon Black
That's all you have to do!
Wow, super simple! I have to say, out of all of the looks that I have done so far, this is probably my least favorite. I guess I'm just not used to wearing a darker color under my brow bone. Obviously Birthday Suit is by no means dark, but I typically wear white or a light pink under my brow bone. I hope you enjoyed today's look, be sure to keep an eye out for tomorrow's I have some great ideas! :)
If you haven't already, don't forget to check out the looks from day 1 and day 2! If you would like to see detailed photos of the palette, take a peek at my post on naked week
If you are interested in purchasing the palette that was used to achieve this look, simply go here!

Talk to you guys soon! :)
Disclaimer- All products mentioned were purchased with my own money.


Quote of the Day- Dante Alighieri

"Beauty awakens the soul to act."
-Dante Alighieri

Monday, February 27, 2012

Quote of the Day- Theodore Roosevelt

"Believe you can and you're halfway there."
-Theodore Roosevelt 

Naked Week: Day 2

Hello, hello!
Today I am recreating the Fashion look with Too Faced's Naked Eye palette! Let's get started!


  1. Prime your eyes with UDPP (or your favorite colorless eye primer.)
  2. Sweep Pink Cheeks all over your lid (Too Faced suggests just brow to crease, I didn't :) )
  3. Take Lap Dance on a flat shader brush and blend it into your crease and lid.
  4. Take Stiletto and apply it to your upper lash line, blend it into your lower lash line if you so choose. ( I didn't)
  5. Finally apply your favorite mascara!
Yup! It's that easy! Those are basically the instructions that are on the card for the fashion look.
I hope you enjoyed today's look! If you want to see the look from day 1, just go here. To see detailed pictures of the palette click here! If your interested in purchasing the palette used just go, here.

Let me know what you thought of today's look, and what your favorite shade from this palette is!

Have a beautiful day! :)

Sunday, February 26, 2012

Quote of the Day- Joyce A. Myers

"A #2 pencil and a dream can take you anywhere."
-Joyce A. Myers 

Naked Week: Day 1

So I figured since to day is the first day of looks using the Too Faced Naked Eye palette we should start out relatively simple, right? This post will feature the 'day' look and my version, day 2.0!
Day Look
Day Look 2.0
Day Look 2.0
 To achieve the day look just follow these simple steps!

  1. Prime your lid with UDPP or any colorless primer.
  2. Then, take a flat shader brush and sweep In The Buff from your lashes to your brow.
  3. Using that same flat shader brush take Pillow Talk and press it onto your eye lid.
  4. Then, take Like A Virgin and blend it into your crease and outer lash line. 
  5. Take Bare Minerals Big & Bright Eyeliner in Stone and smudge it just into your lash line.
  6. Apply your favorite mascara if you so choose!

Now, if you love the look I just showed you stop right here! But if your sitting there thinking to yourself, alright, it's nice, but... it needs a little something extra. Then keep on reading because I think you'll like my version of the day look!


  1. Follow all the steps listed above, just don't put on your mascara just yet.
  2. Take that same flat shader brush and take Stiletto and place it in the outer corner of your lid and just press it in. 
  3. Then, take that same brush without getting more Stiletto and just start bringing into your crease. Now, I know your eye might look a little funky if you did it exactly like I said, but have faith! 
  4. Take a fluffy eye shadow brush (I like Bare Escentuals Fast & Flawless) and blend. Blend until you think it looks just right. 
  5. If you so choose, add some more Stiletto if you want to darken the look just a little bit more.
  6. Then, add your favorite mascara! I used Urban Decay Super Curl and Loreal Million Lashes.
I hope you guys enjoyed these two looks! I will have new ones up tomorrow!
If you would like to buy the Too Faced Naked Eye palette just go here.
To see more detailed pictures of the individual shadows please check out my original blog post, here!
Did you prefer the original day look or 'day look 2.0'? Let me know! :)
Talk to you soon!
Disclaimer: I purchased all products mentioned in this post.

Love & Beauty Cream Blush Review

Confession? I saw this blush on Forever21.com and saw that it was only $2.80 and I had to get it! I mean come on, that's such a good deal! And I am so glad that I got it! This is currently my everyday blush and it is so gorgeous! It gives you that perfect pink flush, like if you had just been out in the cold. And it looks so natural because it's not a powder so you don't look cakey or 'powdery'. Unfortunately, it is not available on their website right now, but from what I've heard that happens frequently, and (fingers crossed) it should be back in stock soon. When it is, you will see that pretty much everyone who has tried this loves it! (I can see why). They also make this in a peach shade, but it wasn't in stock when I placed my order, but I have definitely been keeping my eye out for that one.

If you do end up getting this, don't be deceived, it looks like it's relatively matte, so no sparkle or shimmer. WRONG! I just noticed this a few days ago but there are chunks of silver glitter in it!...what?!?! I know, I know. Who wants big silver sparkly chunks of stuff on their face when they were trying to go for a more natural makeup look. Well, no fear. In the swatches you can see the glitter, sort of... But I have stared at my face in every sort of light in all sorts of uncomfortable angles and I have yet to find a noticeable chunk of glitter on my face! Hooray! I'm not quite sure where exactly it runs off too, but hey, I'm not questioning it!
I always apply this with either a stippling brush or a huge fluffy brush (technical, I know :) ). I tried it with my fingers once and it... it seemed to be too heavy of an application. So, I recommend using brushes! Another bonus, it blends beautifully, and lasts really well (score!).
Enjoy the swatches! Let me know what you think of the color, and if you have tried it, do you love it too?

No Flash
No Flash
With Flash ( Can you see the glitter??)
Without Flash
With Flash
P.S.
  Sorry that the texture looks sort of... sketchy, it's only like that because I apply it with brushes! But you can see how creamy it normally looks where I swiped my finger through it! :)

Saturday, February 25, 2012

It's Naked Week!

Its Naked Week!!
....What are you talking about Sarah?
Well lovelies, I recently re-discovered a very beautiful palette that I owned and decided that it had so much potential that it deserved an entire week of blog posts dedicated to it! What palette am I talking about? Judging by the title of this post you can assume that it is some sort of 'naked' palette. Perhaps Urban Decay's Naked or even Naked2? Nope! Its Too Faced Naked Eye Palette. This palette comes with 9 gorgeous shadows, and 3 cards that show you potential looks that you can do. Every day there will be a post with a different look, and yes, I will create the 3 looks that are shown to you, but in that post I will also show you how to change it a little bit so you have Sarah's version of the suggested Day, Fashion, and Classic looks.
To get all of you excited I have quite a few beautiful pictures of this palette for you! If you see any potential color combinations that you would like to see, please let me know in the comments below! I'm totally open to suggestions! Enjoy!

Stiletto

Lap Dance

Pink Cheeks (It looks matte in this pic but it is definitely a shimmer)

Birthday Suit

In The Buff

Satin Sheets (GORGEOUS)

Unmentionables

Like A Virgin

Pillow Talk
If you are interested in purchasing this product just go here!

Disclaimer- All products mentioned were purchased with my own money.

Quote of the Day- Janos Arany

"In dreams and in love there are no impossibilities."
-Janos Arany

Dupes for Stila's Kitten


 As you may recall from an earlier post of mine, I said that I thought that Clinique's Daybreak was a dupe for Stila's Kitten. Well I also have 2 other shades that I believe are dupes for Kitten! You be the judge! :)


Stila, Clinique, Maybelline, MAC
Clinique's Daybreak

Maybelline's Silver Starlet
Stila's Kitten
MAC's Love Connection
Sorry about the orientation of this one, I tried to fix it but, it wouldn't work :/
No Flash

Kitten VS. Daybreak
  • Kitten obviously has flecks of glitter in it and Daybreak is just a shimmer.
  • They are similar but not an exact dupe; Kitten has a more peachy bronze tone to it.
Kitten VS. Love Connection
  • In the pan they don't look like they would even be close to the same shade, but because Love Connection is a mineralize shadow, when you mix together all the shades that are baked into that one color they come out pretty close to Kitten.
  • Love Connection leans towards being a more pinky- mauve color while Kitten is a champagne that hints at being peachy.
  • They do have the glitter aspect in common; if you were wearing Love Connection in a look instead of Kitten, someone would have to be staring at your eyes for a very, very long time to be able to tell that you weren't wearing Kitten.
Kitten VS. Silver Starlet
  • Silver Starlet is by far the closest to Kitten.
  • In certain lights it does look like it may be a bit darker.
  • Both are peachy champagne colors with glitter.
  • A bonus with Silver Starlet is that you get two colors for the price of one! I can't say I've used the blue shade (blue isn't really my color), but it does look very pretty!
  • Another bonus is that you get a Kitten-esque color at the drugstore price! How sweet is that?!
Price Differences:
  • Maybelline's Silver Starlet- $5.83
  • MAC's Love Connection- $20.00
  • Stila's Kitten- $18.00
  • Clinique's Daybreak- $15.00

You can buy Maybelline's Silver Starlet here.
If your interested in the original, (Stila's Kitten) just go here.
If you want Clinique's Daybreak go here.
To buy MAC's Love Connection just go here!

Want to see Clinique's Daybreak in action? Go here!

Let me know if you have found any other dupes for Kitten! I'm sure there are tons!
Until next time,
<3

Friday, February 24, 2012

Love & Beauty Illuminating Cream Shadow Review


With Flash

No Flash
Pros:

  • Inexpensive
  • Great pigmentation
  • Creamy/ easy to use
Cons:
  • Cheap packaging (That's what you get for $1.80)
  • Creases even with UDPP
On Forever21's website they listed this color as taupe, and it looks like taupe in the package, but once applied it turns into a more bronzey color. Which, I actually don't mind because I think it is beautiful! While the pretty pink package is cute, it just feels extremely cheap. The first time I screwed the lid back on I thought I was going to break it! But honestly, that's what happens when you spend practically nothing on a makeup product! Overall, I like this product. I will try to incorporate it into some of my upcoming looks so you guys can see it in action!
Unfortunately, it is not for sale on Forever21.com right now - sorry guys! But if I see it on there again, I'll inform you and give you the link! :)
Till next time! <3